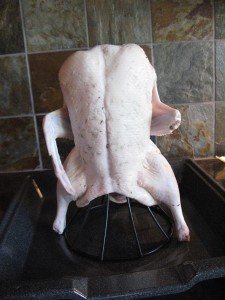
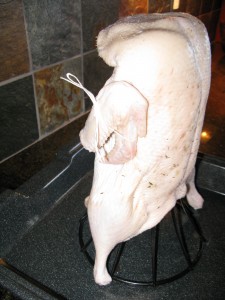
This Thanksgiving, I decided to roast a duck on our outdoor gas grill. Since we do not have a rotisserie attachment for our grill, I purchased an upright turkey roasting mechanism from McGuckins. (Other establishments sell similar apparatuses as “beer can chicken roasters”)
In preparation, I brined the duck for thirty hours in a cooler with red wine, smoked sea salt and water.
Next, I started up the grill. You will want to maintain a temperature around 325 degrees for a period of 2 to 3 hours, so be prepared to check on your duck every 20 minutes or so as the grill tends to be less steady in temp than an oven.
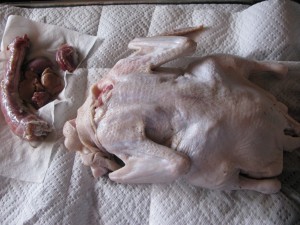 DUCK PREP:
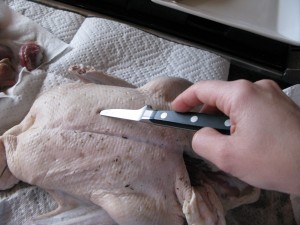
The most important part of cooking a duck is to get rid of the fat. There are several strategies for doing this. The traditional method involves steaming the duck over boiling water for about 20 to 30 minutes, but it cooks the duck and blocks the absorption of smoke flavor when you cook it. Another trick is to pierce the skin of the duck at regular intervals– about every one inch over the entire surface of the duck.
Be careful to cut through the skin and fat but don’t cut into the meat. This can best be done by very gently pushing into the skin with a knife–the fat will be easier to cut than the meat so once you are through the skin push carefully until you feel resistance. These vents will allow the fat to drain from the duck.
ROASTING TIME!
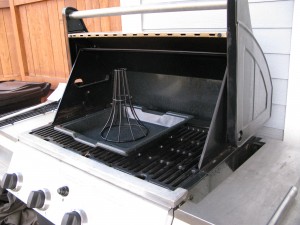
Next, I set up the roasting apparatus:
I would recommend that you line the inside of the grease-trap pan with foil, as my husband found that the drippings are rather difficult to clean out otherwise (sorry honey!)
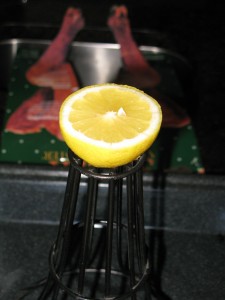
I put half a lemon on the top part of the apparatus (my own affectation) and then sat the duck on the cone with the neck skin tucked in at the top.
(Reserve the giblets for the gravy )
I tied the wings in to keep them from charring and changing the flavor of the bird.
When you are ready to roast your bird, be sure that the bird is elevated from the bottom of the pan (not resting where the fat will be gathering) and that the whole apparatus and bird fit comfortably in your grill.
Into the grill with Mr Duck, and now it’s time to make the gravy!
Be sure to check in on your duck! The skin should start to crisp and turn a golden brown–though sometimes a bit streaky. The bird’s internal temperature should be checked sometime into the second hour with a thermometer–I use the “Super-Fast Thermapen” by ThermoWorks that my dad gave to me last Christmas.
When the internal temperature of the bird reaches 165 degrees, remove from the heat to a high counter away from dogs, and be careful not to spill the gathered duck fat in the pan on yourself (hot oil!)
If you are glazing the duck, now would be a good time to do it–while the skin is hot and will absorb some of the sugars of the glaze.
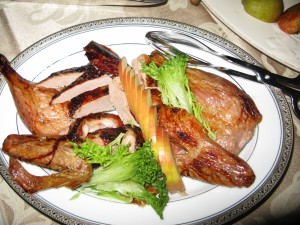
When the skin is not uncomfortable to the touch, you can carve your duck right off of the apparatus.
Recipes for glazes and gravy are available upon request.
Enjoy!

